From morning skincare to a full face of makeup, this guide breaks down each step clearly—covering everything from sunscreen and primer to eyeshadow, lipstick, and setting spray.

“Love of beauty is taste. The creation of beauty is art.”
Ralph Waldo Emerson
Can makeup do magical things? Let me think, yeah, it does. Makeup can completely transform your face or simply enhance your features; however, it does not have to be a mystery. For creating this magic, you do not need a lot of skill. You require the ability to blend in makeup with your fingertips, a few tools such as brushes, sponges, and some practice.
Makeup is very personal and individual for everyone, depending on what you want from your makeup–some of you love a natural look or something a little sultrier.
Sometimes you watch YouTube tutorials apply makeup for your desired looks– it makes you more confused. Should you put foundation before or after concealer? Is it better to use your eyeshadow first or last? The truth is, it is totally up to your preference. Yet, you should follow a general order to achieve the desired look.
We have provided a step-by-step guide to help you learn how to put on makeup on your face, eyes, and lips.
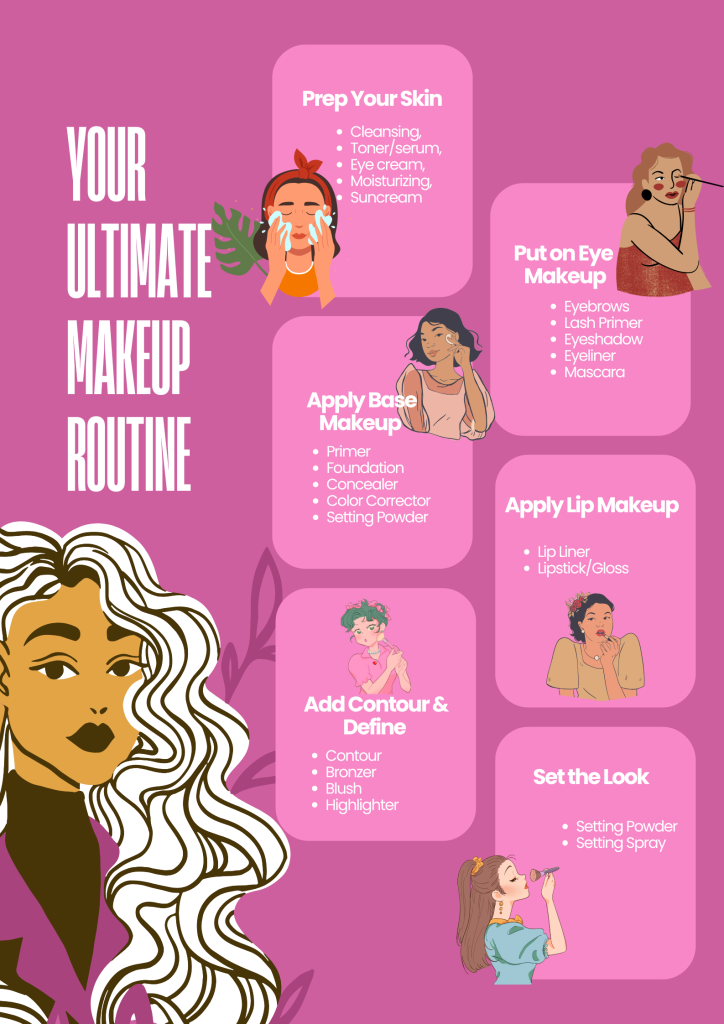
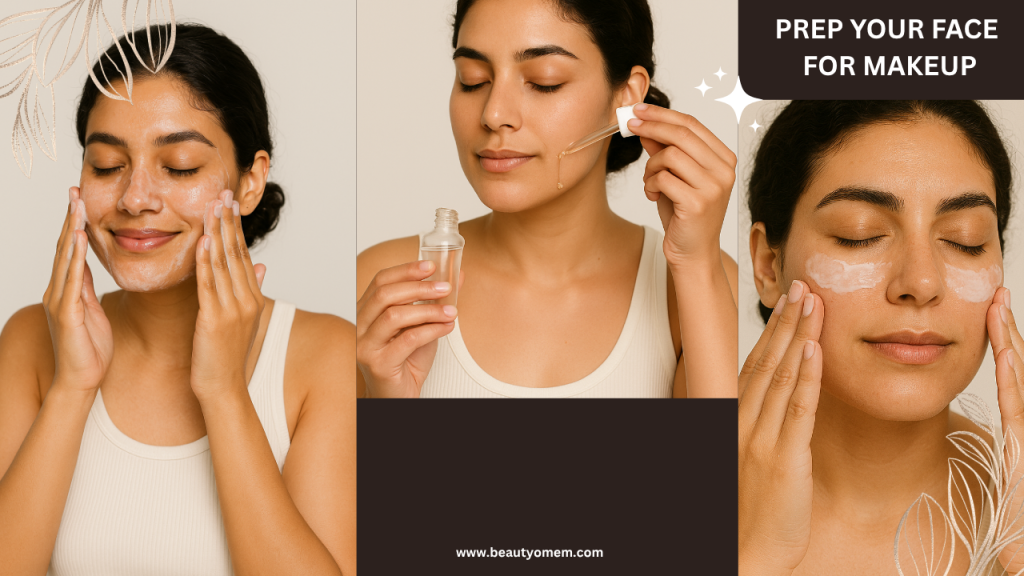
How To Prep Your Face For Makeup
Before layering makeup, it is crucial to prep your skin to create a good base. So, make sure to finish your skincare regimen before going for any makeup tools. For a quick and easy skincare routine, check out our suggestions below.
Step One: Facial Cleanser
Let’s get started with the first step–you want to make sure your skin is clean. I wash my face every morning. You ought to wash your face using a gentle facial cleanser to help exfoliate and reveal brighter skin. Squeeze a small amount of product into wet hands or a face halo, then gently massage it onto your skin and rinse off thoroughly. Now your face is very brand new and clean too.
Step Two: Facial Serum or Toner
After that, you’d better make sure to use serum or toner in your skincare routine. It is good to use a serum all over your face if you have acne scarring and hyperpigmentation. Even though it hydrates and brightens your skin, toner or serum is an often-overlooked step in our everyday skincare routine.
Right after cleansing, apply three to four drops of serum all over your face and neck and wait for a few seconds for it to dry. Or, apply a small amount of toner onto cotton and gently wipe the product all over your face and neck.
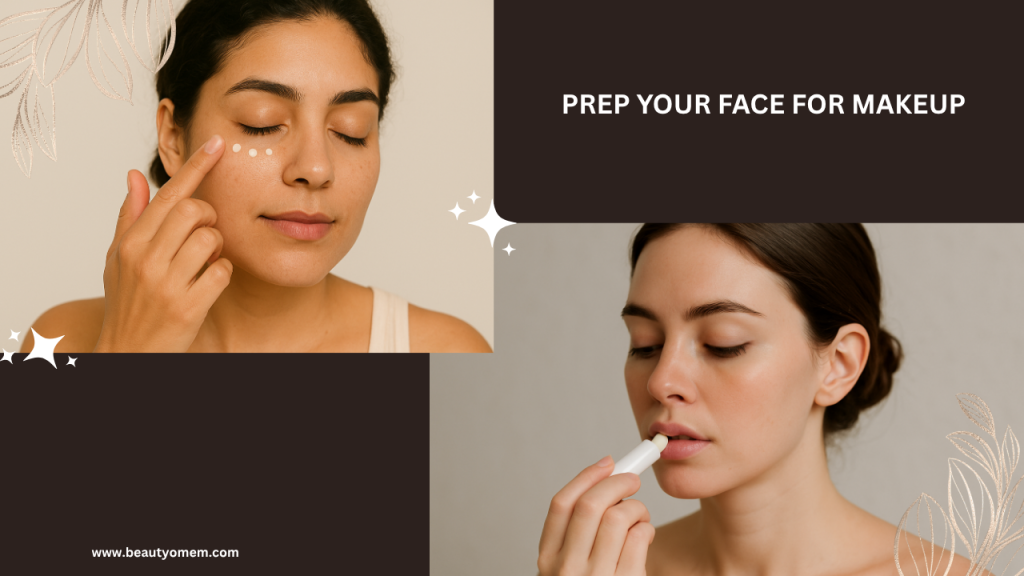
Step Three: Eye Cream
Next to order is eye cream, which helps to soothe and refresh the skin around your eyes. It also fills fine lines around the eye area. You can especially see the result when you apply eye primer or concealer.
Because of high dedication and sensitivity skin around the eyes, you use your eye cream fingers means middle finger to apply eye cream. Dot the product along with your orbital bones and connect the dots carefully.
Softly dad it, does not rub it. And also, don’t go too near the lower lash line, as eye products will travel. Leave it a few minutes to sink in before applying the primer.
Step Four: Moisturizer
Do not forget to hydrate your face with a moisturizer that appropriates for your skin type and offers all-day hydration. Face Mists, lotions, creams, and oils are different types that you can use not to make the base oily before applying makeup. Learning how to apply moisturizer correctly is a crucial piece of the puzzle.
Apply a generous amount of moisturizer across your forehead; begin from the center of your face, then move outwards and up. Then, do the same, starting at your nose, putting in the moisturizer across your cheeks. Ensure you have put on enough moisturizer evenly throughout your skin, gently rub it in using circles, and give it a few minutes to dry before moving on to the following step.
Step Five: Apply Sunscreen (Morning Only)
After your moisturizer has fully absorbed into your skin, the next essential step is applying sunscreen—but only in the morning. Sunscreen protects your skin from harmful UV rays, prevents premature aging, and reduces the risk of sun damage and hyperpigmentation.
Choose a broad-spectrum sunscreen with SPF 30 or higher, and apply it generously to your face, neck, and any exposed areas. Make sure to apply it at least 15–20 minutes before going outside for maximum effectiveness.
Use about a nickel-sized amount and gently pat or spread it evenly across your skin. Let it absorb completely before moving on to primer or makeup.
THE BEST ORDER TO APPLY FACE MAKEUP
You can begin the makeup process after completing your skincare routine.
And if you’re wondering, what are the exact steps to apply makeup? The answer is there is no correct order to go about it. Some of them prefer doing their eyes before the rest of their face, some other areas. Is it necessary to use a primer or not sure if concealer? Should concealer come before or after foundation? Wait, before you get the answer, you must pay attention to the most important thing–blend your makeup nicely to ensure that you get a refined look. You need to follow some steps so that your makeup blends in perfectly with your skin and does not result in your face looking cakey in the end. Check out our step-by-step guide on makeup most quickly and conveniently possible below for an easy-to-do makeup routine.
Step one: Primer
Never skip on using a primer if you want to create a perfect base for your beautiful look. It gives your makeup look fresh and does not melt during the day. Primer assists to blur pores and create an even canvas for your makeup. Primer also helps your makeup wear more evenly throughout the day by smoothing out fine lines and pores. If you have oily skin, use a matte finish primer and apply it all over your face or select areas, depending on your skin’s needs.
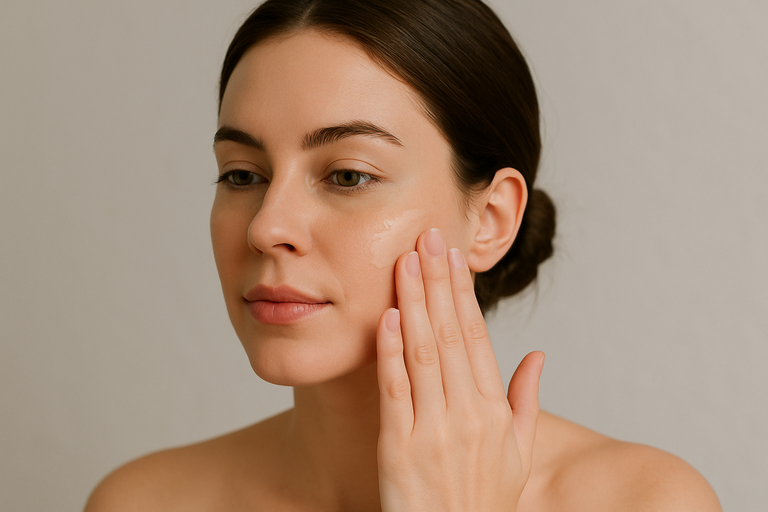
Squeeze a small amount onto your fingertips and gently dad t-zone first. For a flawless finish and longer-lasting makeup, apply it all over your face. Then you are going to go in with your lip primer and smear it to your entire lip, just like your lipstick.
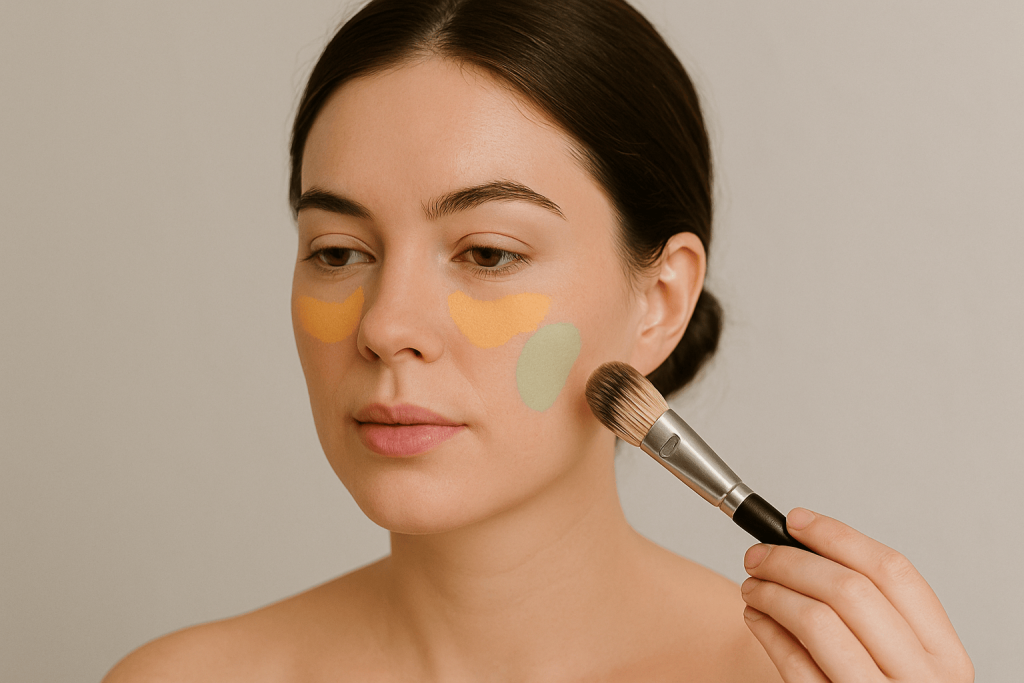
Step Two: Color Correct
Do you have dark circles under your eyes and redness? Then, color-correcting concealer is for you. It helps to cover up your redness and dark circles under your eyes and works to neutralize color and transform complexions. Blend a small amount of color-correcting concealer onto scenarios where you want to color correct your skin using a flat & fluffy brush.
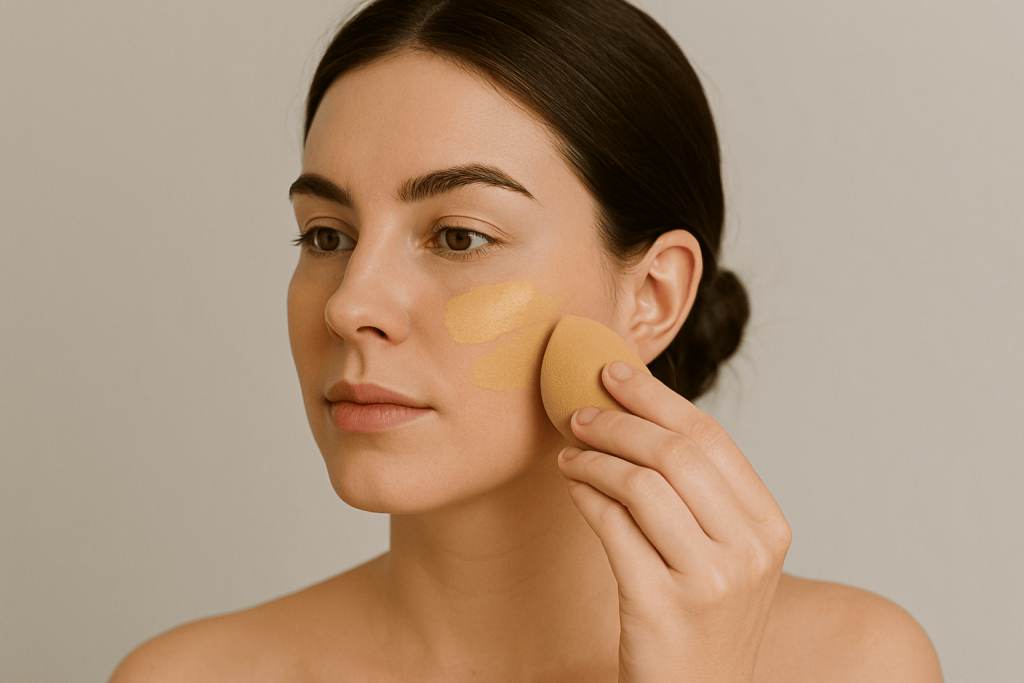
Step Three: Liquid Foundation
Take a few spots of foundation on the backside of your hand or a plat, then blend with a beauty sponge and apply to your face. You can also use a foundation brush or your fingers.
When it comes to choosing a foundation, be sure it matches your skin tone. If any doubt chooses a foundation, you can take a slightly lighter shade over a darker one.
Step Four: Conceal
You are ready to put on concealer after applying your foundation. Focus on the problem areas you want to conceal by using a concealer, especially under the eyes, around the nostrils, and any blemishes or dark spots.
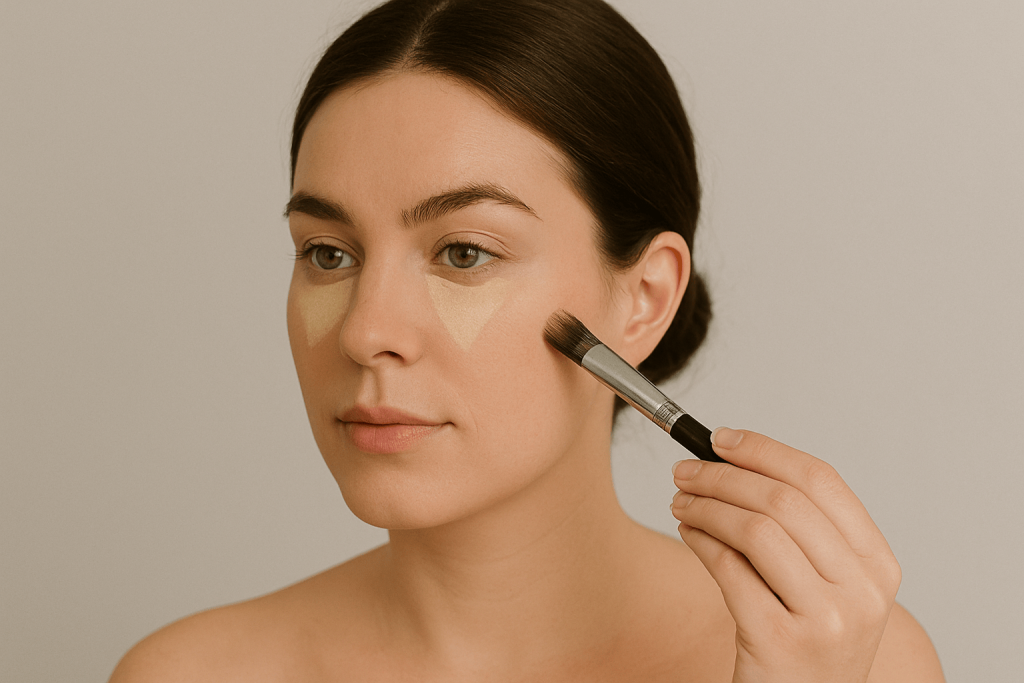
It is crucial to dab rather than drag when it comes to covering up. Use your ring finger, a concealer brush, or a sponge to apply on blemishes and lightly dab. Draw two inverted triangles beneath your eyes and lightly dab the edges into your foundation to conceal under the eyes.
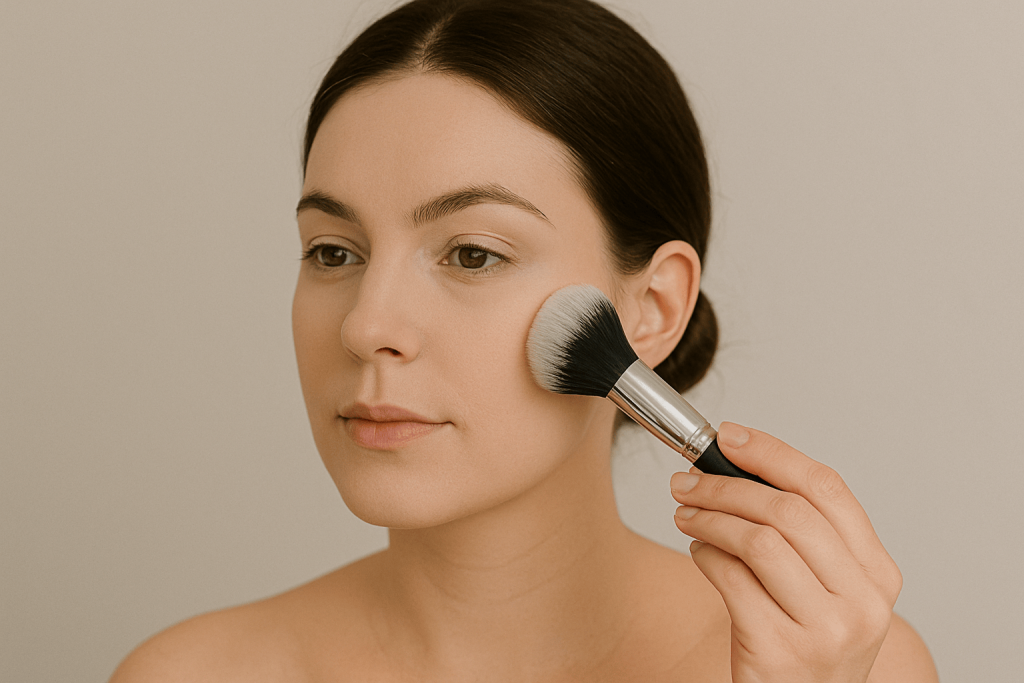
Step Five: Setting Powder
Now the next step is setting your foundation and concealer. You can use any setting powder that you like with the precision highlighting brush and the larger brush. The precision highlighting brush is perfect for underneath the eye area to set your under-eye concealer. You also put on setting powder on top of your eye to set concealer, which helps prime your eyelid for eye shadow application. Now you use the larger brush to set the rest of my face with the same setting powder. Not to skip this step because it helps to keep your foundation and concealer in place all day long. If you do not have any setting powder, you may smear baby powder.
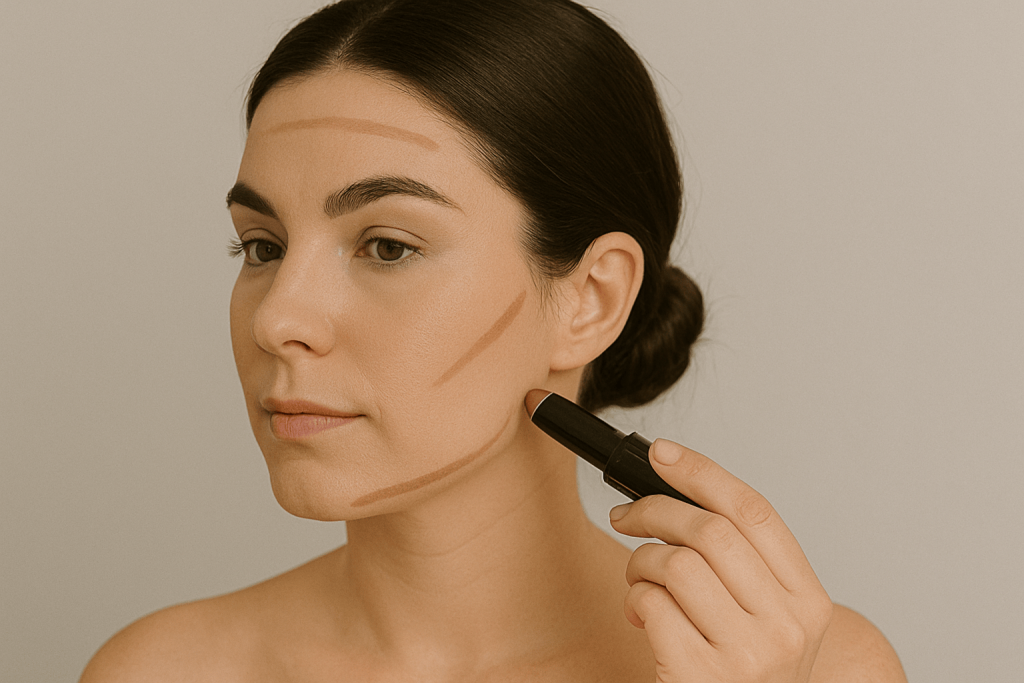
Step Six: Contour
Now it is time to contour after creating an even foundation base. It adds dimension by chiseling out your cheekbones and jawlines. Pick out your favorite contour shade and draw on your cheekbones, jawlines, and forehand. Now blend this with a sponge since it works better for this.
Step Seven: Bronzing
You are ready to begin bronzing. Using a little paddle brush, blend bronzer around your hairline, on your cheekbones, and your jawline.
To start by applying at your hairline, going further down to your cheekbones before rounding it out under your jawline. Then dust some on the bridge of your nose to cap off your sun-kissed look.
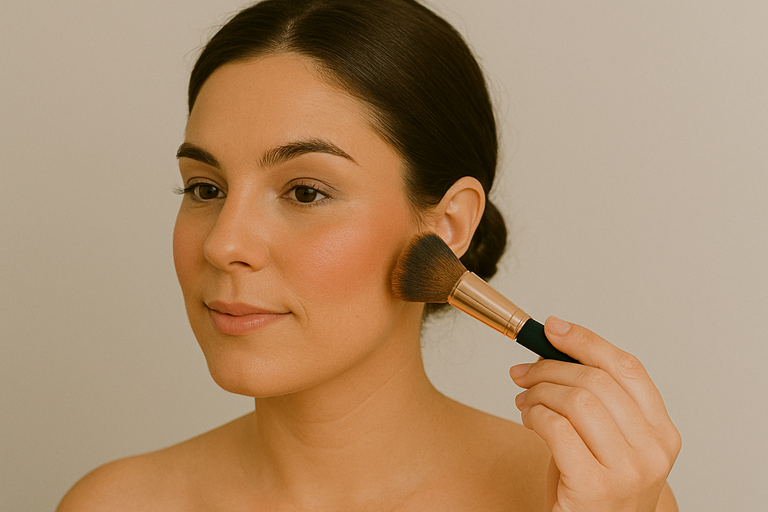
Step Eight: Blush
After bronzer, rud in shimmery blush to brighten up your cheekbones. Take the fluffy brush and apply your blush vertically if you have a round face. Then also spread it on your temples because it is going to slim down your face.
You do not want to apply blush on the apples of your cheeks because it is just going to look around. You are going to contour horizontally when you have a long face. Start from the apples of your cheeks and blend them into the rest of the cheek.
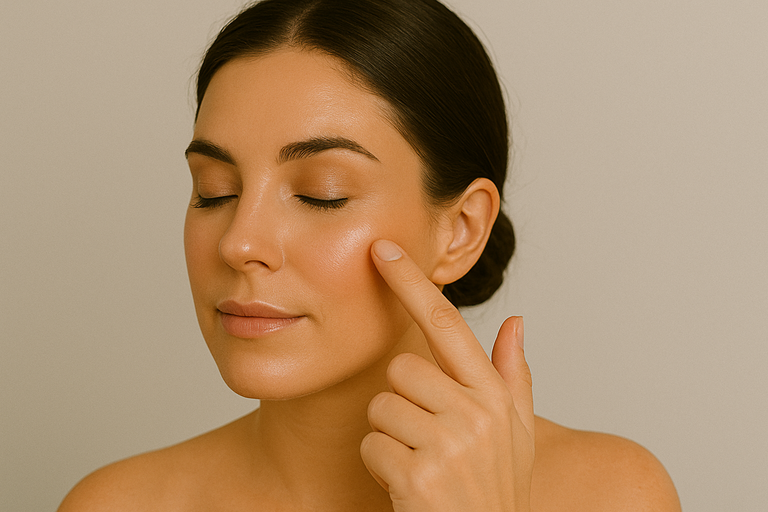
Step Nine: Highlighter
Highlighter enhances your bone structure and gives your skin a gorgeous color boost. Grab your highlighter brush and apply a highlighter from your temples to the tops of your cheekbone. Gently dab it onto the tip of your nose with a little bit of highlighter onto your fingertip. To mix the highlighter, move your finger back and forth. To blend the highlighter, move your finger back and forth. You can also apply some highlighter down the center of your forehead towards the bridge of your nose.
Step Ten: Apply Your Eye Makeup
Now is the correct time to eye make–grab your eyebrow pencil, lash primer, eye shadow, mascara, and get ready to work!
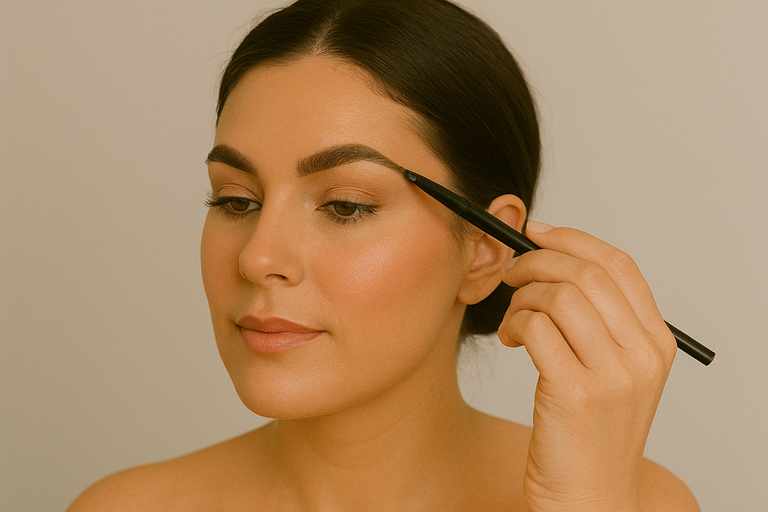
Step One: Eyebrow
First, start by brushing your brow hairs upwards with an eyebrow brush. If you want, you can omit this step. Yet, it is necessary because it creates a fine base shape for your brows. It also makes your brows look a little bit fuller and a little bit bigger. Then, sculpt and define your eyebrows using the Eyebrow Pencil or Waterproof Gel–work to create a natural-looking well-defined arch.
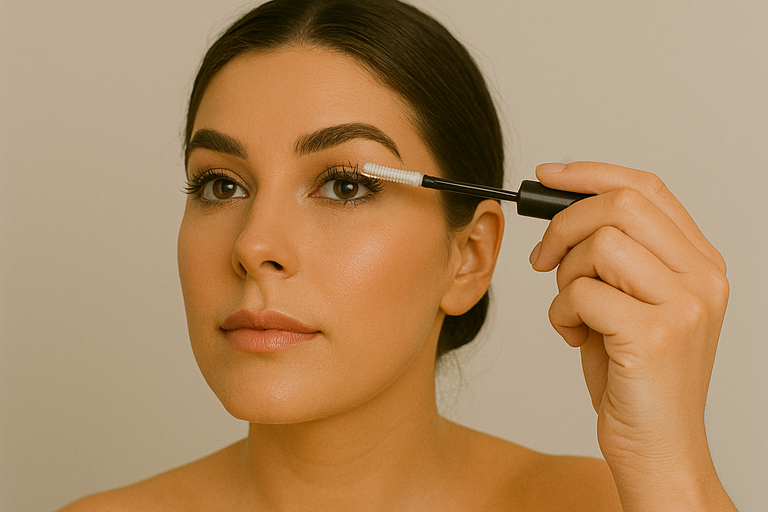
Step Two: Lash Primer
Now, it is time to move on to the lash primer– super simple to apply on your eyelashes. Place the brush at the base of your lashes and gently sweep upward, just as you would with mascara. That is it!
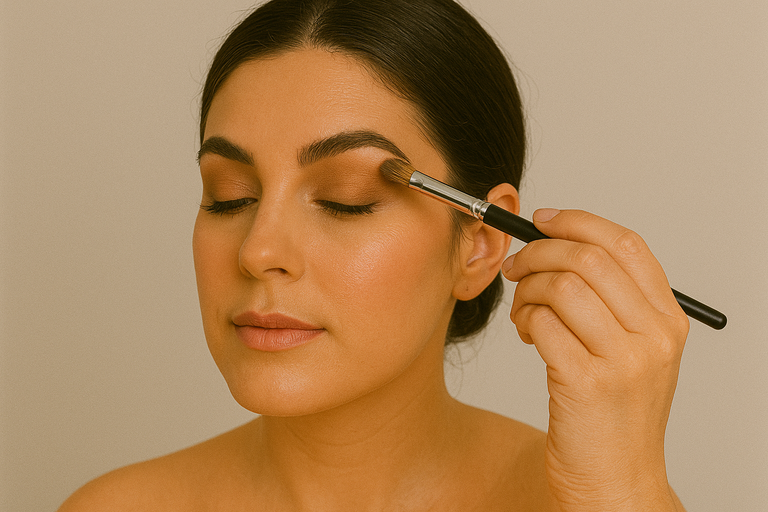
Step Three: Eyeshadow
After lash primer, the next step is applying eyeshadow. Start with dusting some neutral color onto your entire lids by using a fluffy eyeshadow brush. For intensifying eyes, you can then pick a dark shade and apply it to the crease. It also gives a lot of depth and texture. To complete the look, take a highlighter and dab your brow bone.
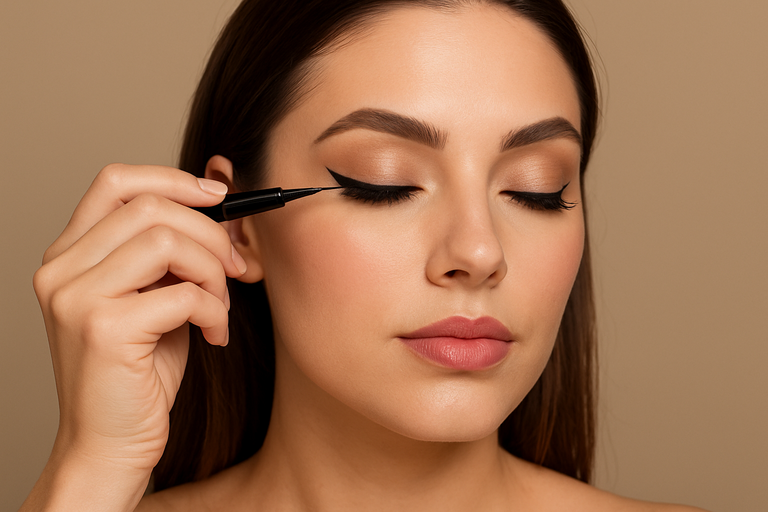
Step Four: Eyeliner
Once you have finished your eyeshadow, you can move on to your eyeliner–whatever is easier for you to apply liquid, pen, or gel. You may start from the outer corner of your eye, working your way towards the inner corner. You can draw a simple line or make a wing. It will instantly make your eyes look bigger and brighter. If you are new to use eyeliners, you to go with the pen eyeliner. It is super easy to apply compared to liquid and gel.
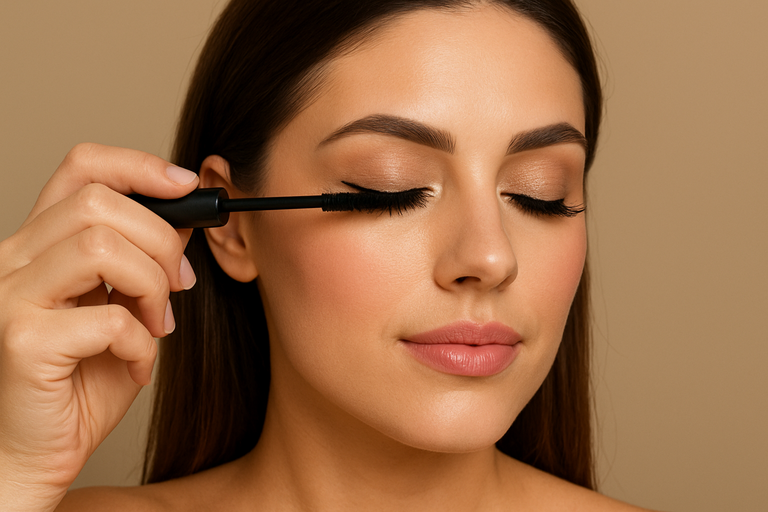
Step Five: Mascara
The first thing you need is a lash curler. One trick for curling your lashes is to count to three on each eye. That way, you are going to make sure that the lashes are curled nicely. If you are using a new mascara, wipe it off on a tissue to get rid of excess product.
Wiggle the wand at the base of the lash when you are applying your mascara. It helps separate the lashes so that the ends do not stick together. It also lengthens the lashes instead of making them stick together. The next important step is to sweep the wand on the backside of the lashes.
To create the length of the bottom lashes, you are doing the same thing wiggling, separating, and sweeping that brush. You repeat this process over and over again until your lashes are as big as you want.
Step Eleven: Apply Lip Makeup
You are almost finished! After you have finished your face and eye makeup, add some color to your lips using a swiping motion.
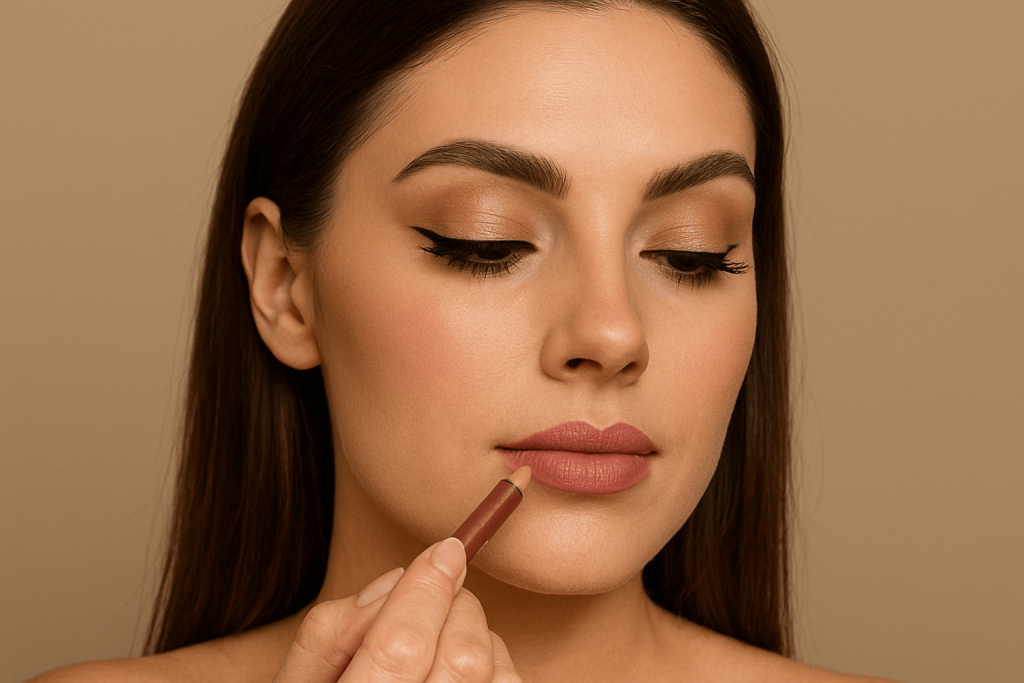
Step One: lipliner
Lining your lips is good before you apply lipstick. It prevents color from bleeding or feathering, which happens when your lipstick runs or smudges outside of your lip lines. With liner on your lips at this point., You can also contour and create the illusion of a fuller pout.
Step Two: Lipstick or Lip Gloss
Place the lipstick or lip gloss in the middle of your lips and work outward when putting on lipstick. You will be able to control your application better and mitigate any mess-ups by concentrating your lipstick to the fullest part of your lips. You can use a lip brush applying lipstick as it gives you a more precise and even application. If you make a small mistake, you could have your concealer and a flat brush on hand to clean up the line.

Step Twelve: Setting Spray & Setting Powder
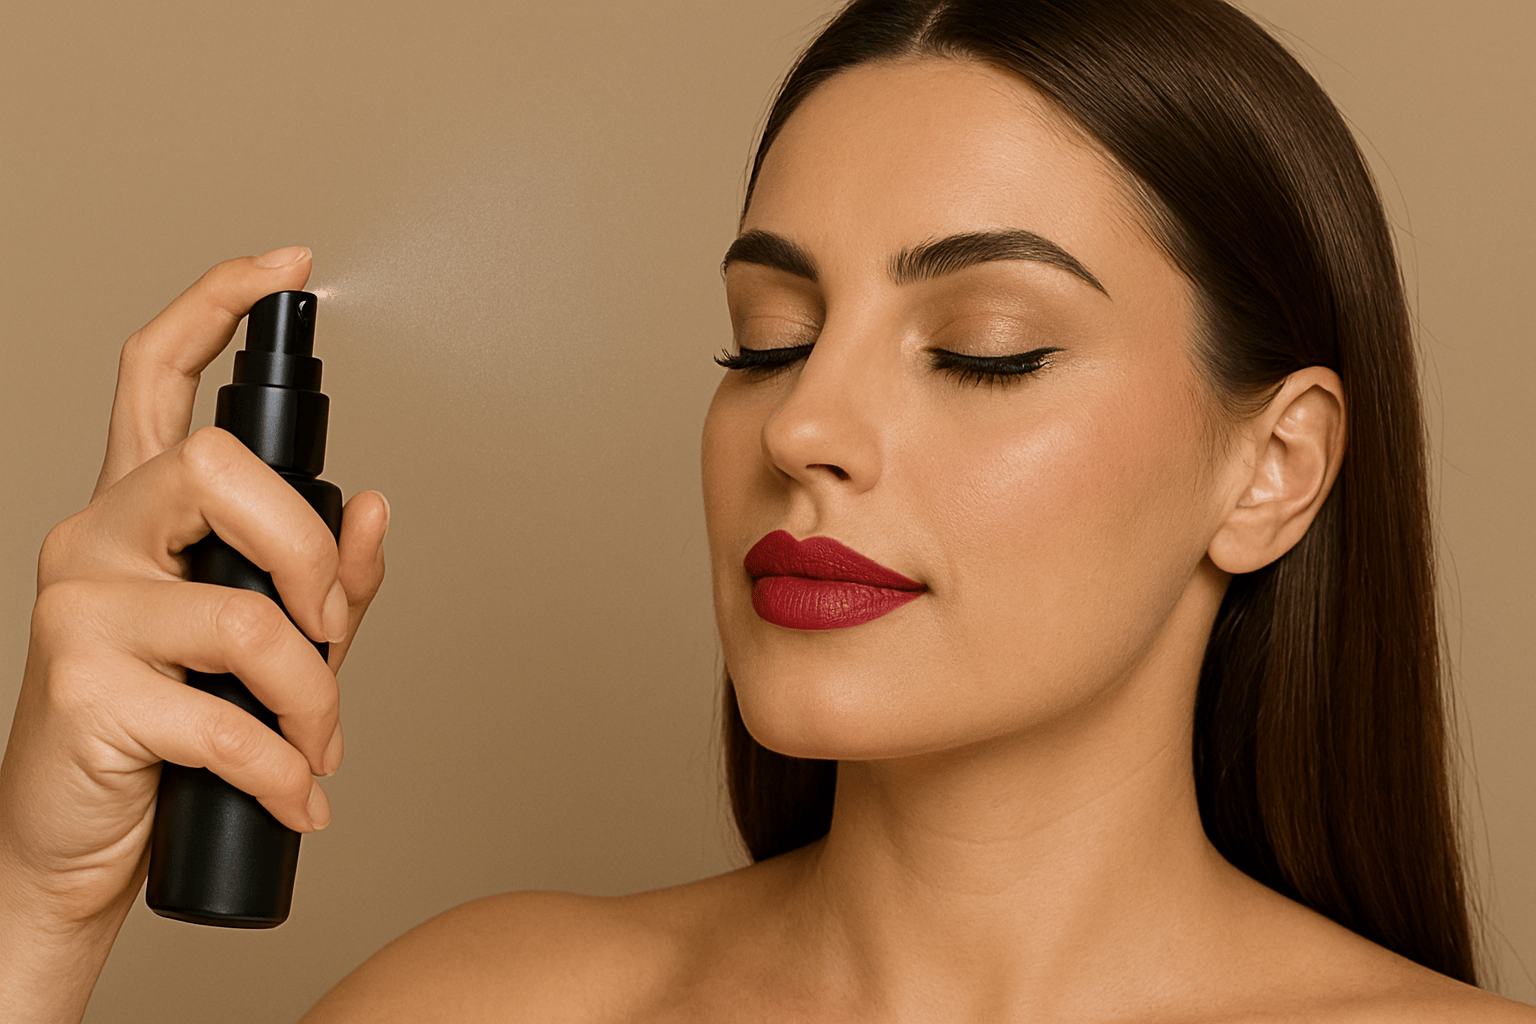
After all that work, you will want to do the final touch for your makeup routine–set your makeup look with setting powder, setting spray, or both.
It is crucial to invest in a quality setting solution for last long your makeup all day without greasiness, creasing, or shine.
Setting sprays are designed for all skin types moreover, it is a great option for a less matte and more natural look. Setting spray is applied to your face in the same way that hairspray is. Hold the bottle at least 8 inches from your face, spritz in an X shape across your face.
If you prefer your skin to look matteness, you can use a setting powder.
For applying setting powder, you can use a velour puff saturated or any fluffy brush. Gently tap and roll the puff under your eyes and around your T-zone.
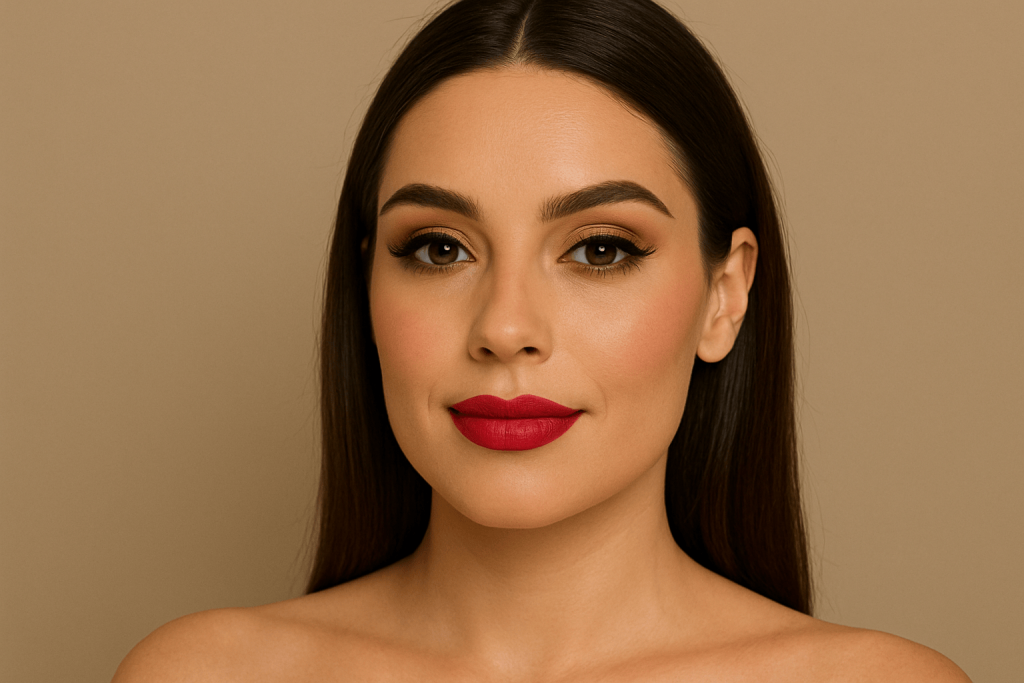
Final Look
Your make-up is finished. It’s simple to create a range of beauty looks with these makeup application tips, whether you’re going to the office or out for a night on the town.